Family Budgeting Tip: Plan a Whole Month of Meals
Now that our household runs on one and a half incomes while I'm on paid parental leave, we've had to watch our spending more closely. I'd been meal planning for much of this year, but usually only a week ahead, so I decided to map out a full month of dinners instead.
Here's how it works: I start by checking what's already in the pantry and freezer, which let me plan the first two weeks around food we already owned. I also marked the evenings we won't be home and pencilled in a couple of flexible date nights for takeaway or dinner out — late-night shopping on Thursdays fits nicely. From there I write a shopping list covering any extra meat and the fruit and veg for the first fortnight. Halfway through the month we do a smaller top-up shop for fresh produce, plus a weekly run for bread and milk.
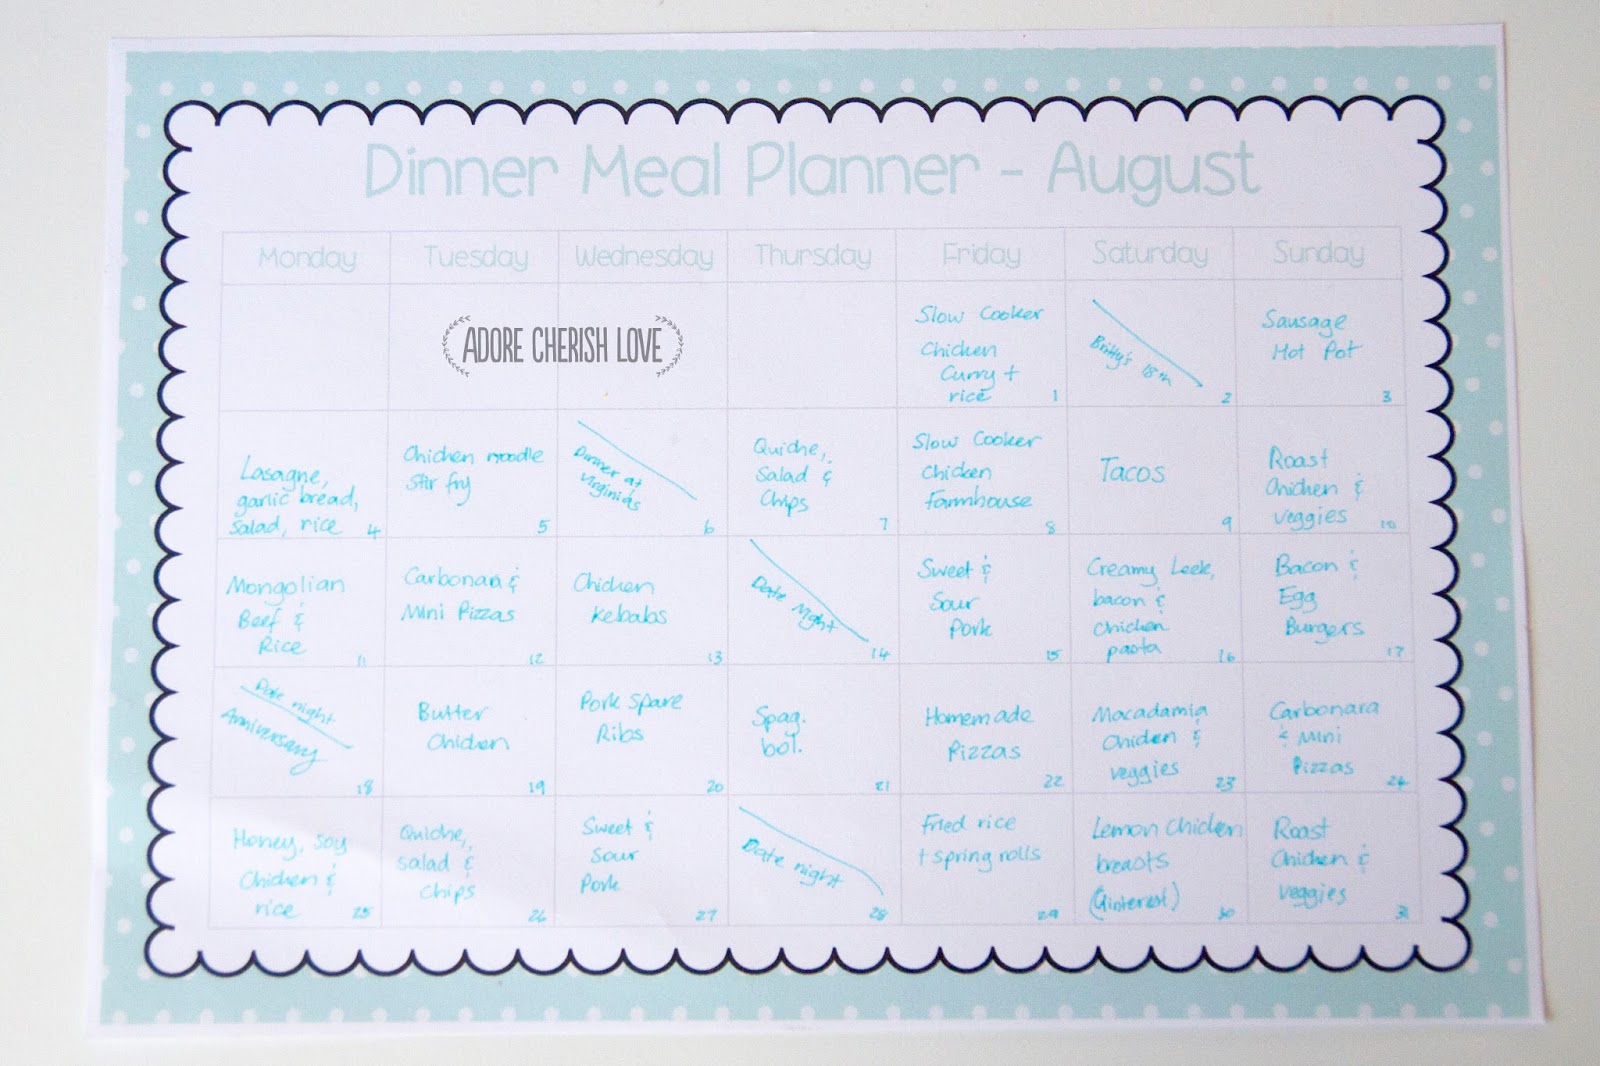
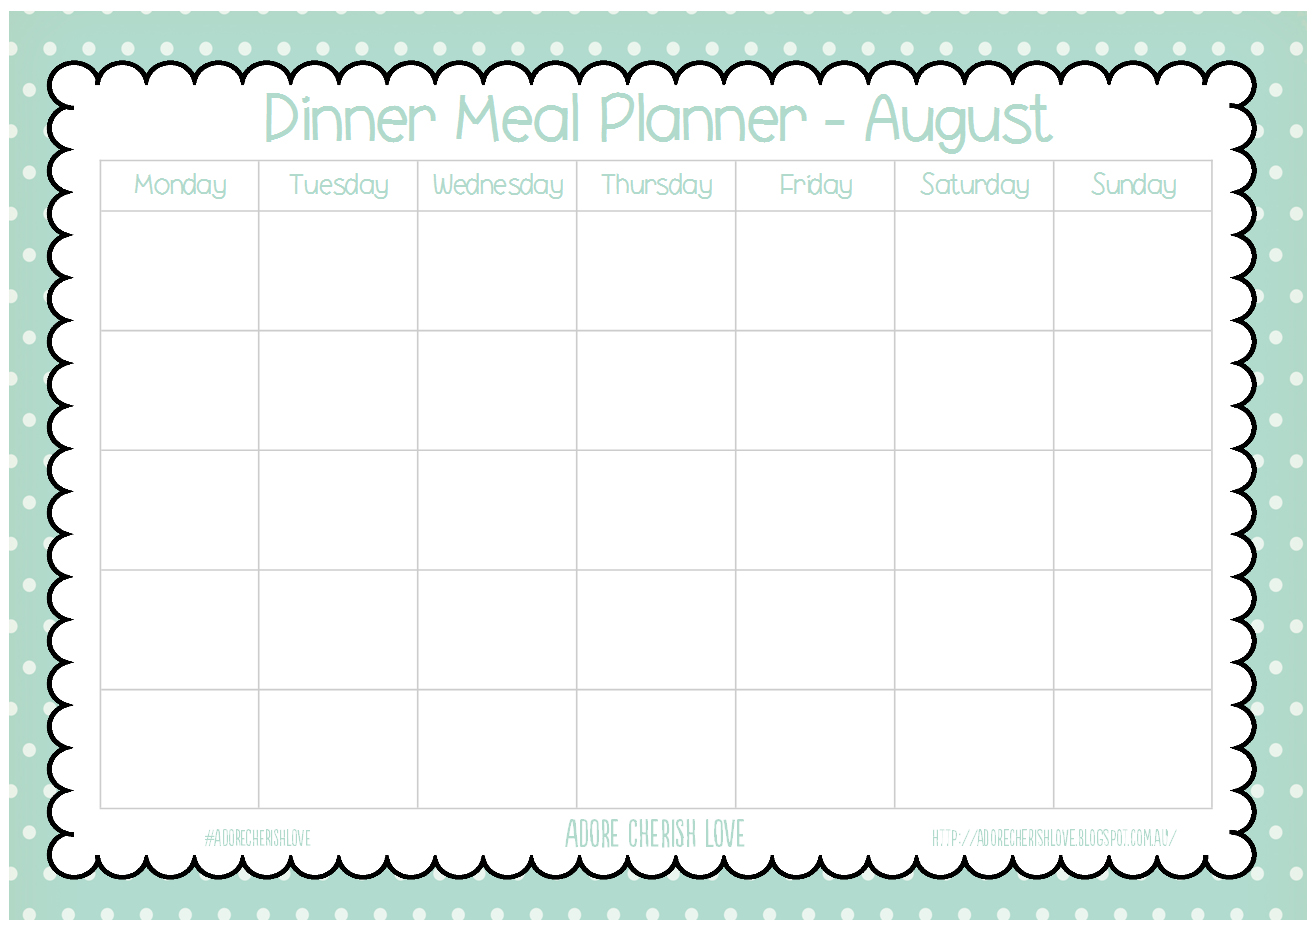
My completed plan for August is above, and I've made the template free for anyone who wants to try monthly meal planning. Just click any photo in this post, or use the download link below, to grab your own copy. If you fill one in, share it on Instagram with the hashtag #adorecherishlove so we can all swap tasty meal ideas.
Download the Free Meal PlannerWhat About Lunch and Breakfast?
Lunches are simple: I often double a dinner batch and freeze the leftovers for easy midday meals, and we keep the pantry stocked with noodles and frozen meals. I'll usually have leftovers, a sandwich or something quick like wedges or sausage rolls, while my husband takes sandwiches. Breakfast is typically Weet-Bix or toast.
My Budgeting Money Pockets
Last year we lived on my teaching income alone, so we had to become budget-savvy fast. After sitting down with my husband to agree on a budget, I made these little budget envelopes that slip neatly into my wallet. I dug through my scrapbooking supplies (untouched for a good three years — oops), picked out some pretty paper and made small labels in Publisher.
Next I cut the paper to size (mine measured 15.5cm x 16cm) and folded each sheet in half so the height came to about 7.5cm. I stuck a label on the front and ran the envelopes through my laminator, then trimmed straight across the top — taking off a couple of millimetres — so money could slide in. Be sure to leave a few millimetres of laminate around the other edges, or your cash will slip out the sides.
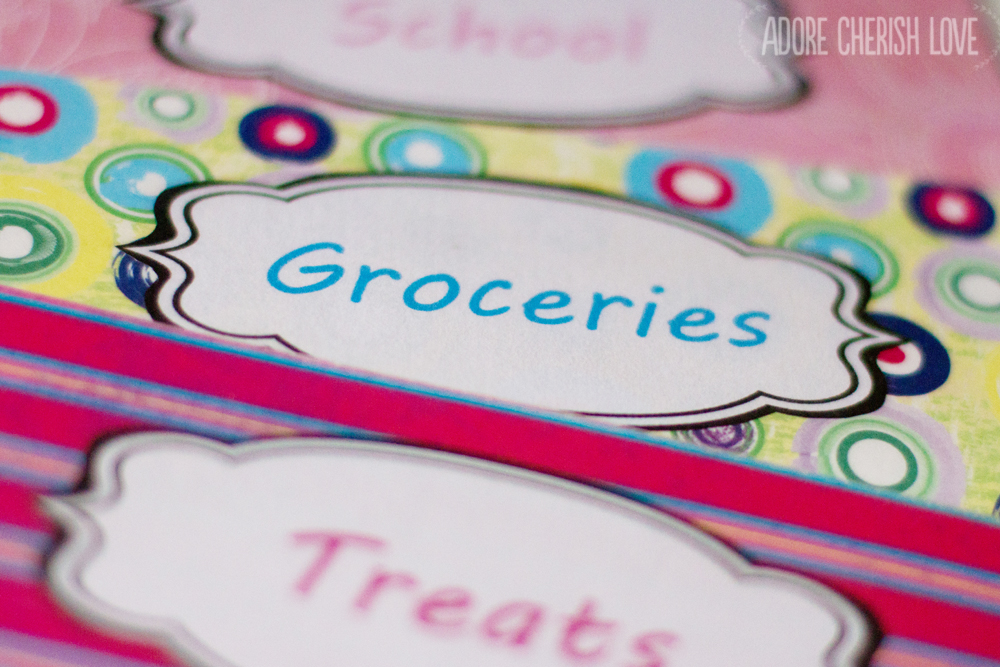
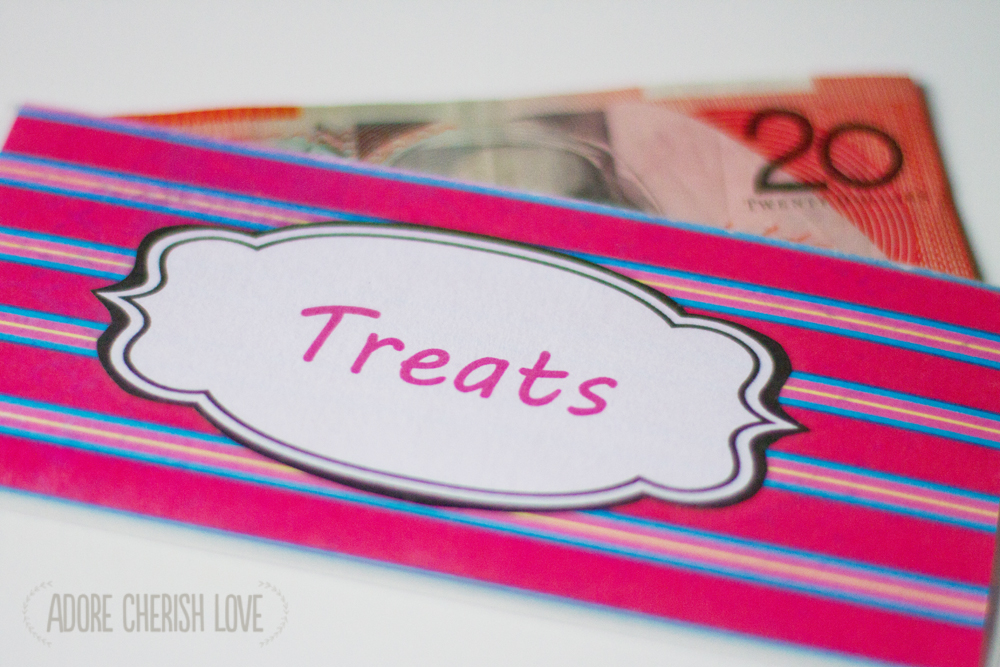
I have to admit my husband was a little sceptical, but the envelopes genuinely worked. After rent and bills were paid, I'd take out $100 for groceries, $50 for treats and $50 for school resources. Once that money was gone, I couldn't take out more until the following week. That meant no impulse buys on my card and a clear picture of exactly what I was spending. Any gold coins went straight into my coin pocket, usually towards little treats like a soft drink from the work vending machine or lunch while I was out. If I had money left at the end of the week, I'd withdraw less the next week — which meant more saving. Yay!
I'd definitely encourage anyone on a budget to try something similar; it made a huge difference to our spending.
Filed under: budgeting
Leave a CommentAbout Me
I'm Casey, a new mum to a gorgeous little girl named Lilly, and this blog follows my journey into motherhood.
Follow Along
Popular Posts
- What's in My Nappy Bag
- Lilly's First Painting Experience
- Hospital Bag 101: What Worked and What Didn't
- Welcome Lilly Anne
- Swimming Nappies
Browse by Topic
- Allergies
- Art
- Baby
- Baby Led Weaning
- Birth Story
- Breastfeeding
- Craft
- Easter
- Expressing
- Family
- Gifts
- Holiday
- House and Home
- Marriage
- Newborn
- Nursery
- Organisation
- Parenting
- Party Ideas
- Pets
- Photography
- Play
- Preemie Journey
- Pregnancy
- Printable